The Ultimate Guide to Wedding Invitation Timelines: When to Send Save-the-Dates, Invitations, and Everything In Between
Planning a wedding involves juggling countless details, and your wedding stationery timeline is one of the most important aspects to get right. After all, your invitations are the first glimpse guests will have of your special day! To help ensure your wedding correspondence arrives in mailboxes at just the right time, we’ve created this comprehensive timeline guide for all your wedding stationery needs.
12+ Months Before: Start Gathering Inspiration
While you won’t be sending anything just yet, this is the perfect time to:
Begin collecting invitation designs that catch your eye
Create a Pinterest board or digital folder of styles you love
Consider your wedding colors, theme, and overall aesthetic
Start researching invitation designers and vendors
10-12 Months Before: Save-the-Dates for Destination Weddings
If you’re planning a destination wedding requiring significant travel arrangements:
Send save-the-dates 10-12 months in advance
Include the wedding location, date, and a note that formal invitations will follow
Consider adding your wedding website URL with accommodation information
8-10 Months Before: Save-the-Dates for Local Weddings
For weddings closer to home:
Mail save-the-dates 8-10 months before your wedding date
Include the couple’s names, wedding date, city/state, and “formal invitation to follow”
A simple postcard design works well for save-the-dates
Digital save-the-dates are becoming increasingly acceptable, especially for tech-savvy guest lists
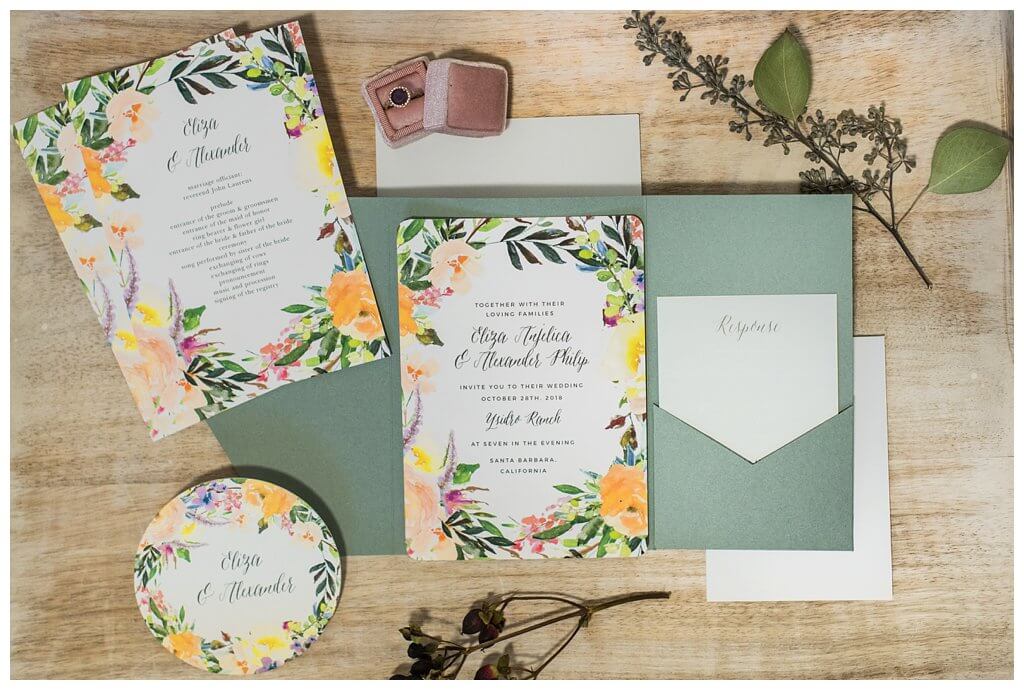
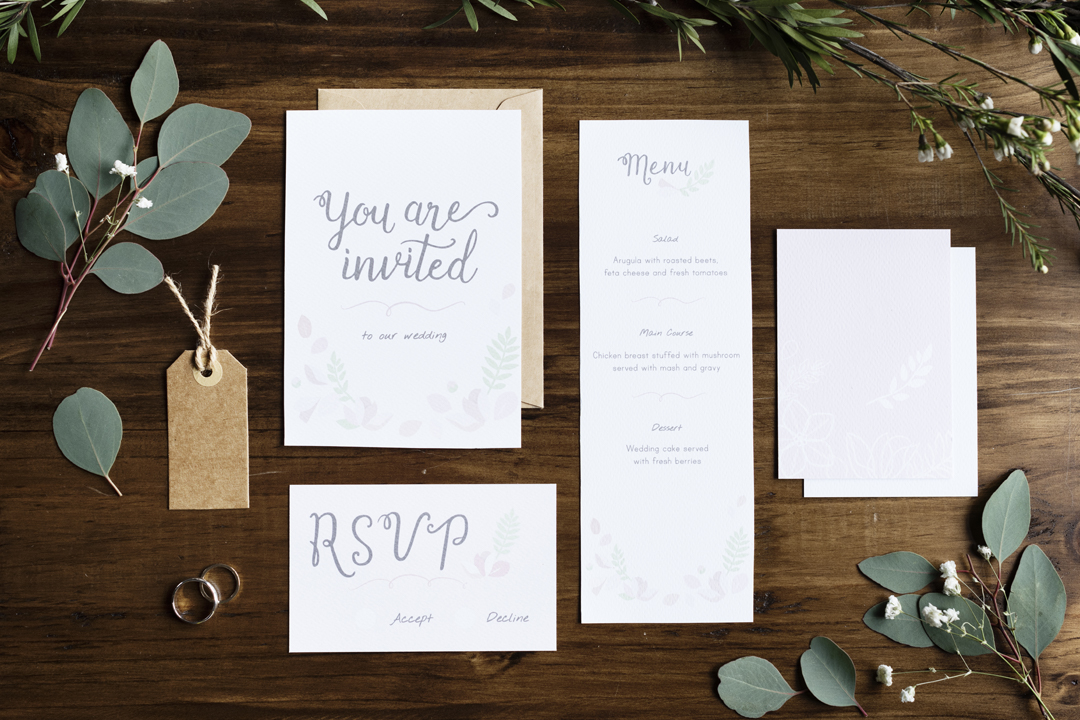
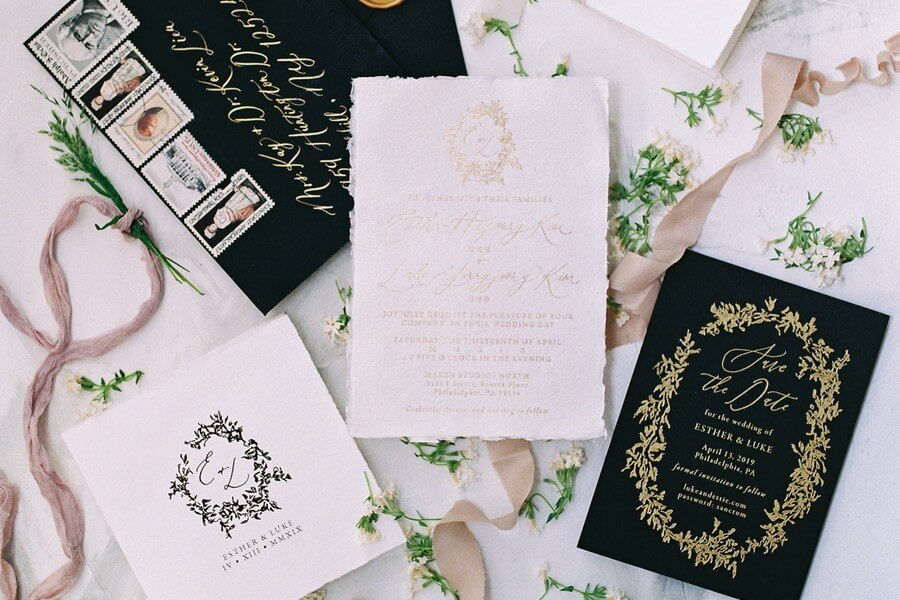
6-8 Months Before: Finalize Your Invitation Suite
Now is the time to:
Select your invitation designer or vendor (check out our website for Ohio vendors)
Finalize your invitation design, paper type, and printing method
Place your order (allowing enough time for proofing, printing, and potential delays)
Confirm all event details that will appear on your invitations
Begin compiling your guest list with current addresses
3-4 Months Before: Assemble and Address Invitations
Once your invitations arrive:
Check all pieces for accuracy
Assemble invitation suites (main invitation, RSVP card, details card, etc.)
Address envelopes (consider hiring a calligrapher for a special touch)
Weigh a complete invitation suite at the post office to determine correct postage
Purchase postage (consider custom stamps that match your wedding theme)
2-3 Months Before: Mail Wedding Invitations
For standard weddings:
Send invitations 8-10 weeks before your wedding date
For destination weddings, aim for the earlier end of this window
Pro tip: Mail on a Tuesday or Wednesday for optimal postal processing
Include your RSVP deadline (typically 3-4 weeks before the wedding)
4-5 Weeks Before: Begin Tracking RSVPs
As responses come in:
Create a spreadsheet to track meal choices and attendance
Follow up with guests who haven’t responded about a week after your RSVP deadline
Finalize your seating chart once all responses are in
2-3 Weeks Before: Order Day-of Stationery
Don’t forget about:
Ceremony programs
Menu cards
Place cards or escort cards
Table numbers
Thank you cards
Welcome bag notes for out-of-town guests
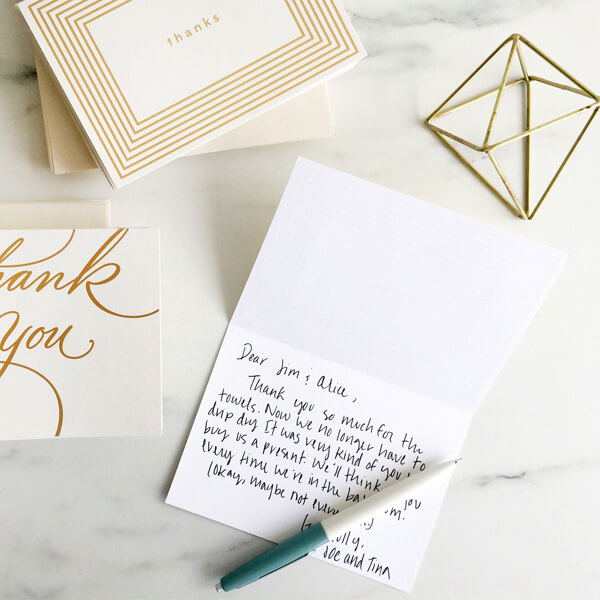
After the Wedding: Send Thank You Notes
The final piece of your stationery timeline:
For gifts received before the wedding: Send thank you notes within 2-3 weeks
For gifts received at or after the wedding: Send thank you notes within 3 months
Personalize each note with specific references to the gift received
Special Circumstances
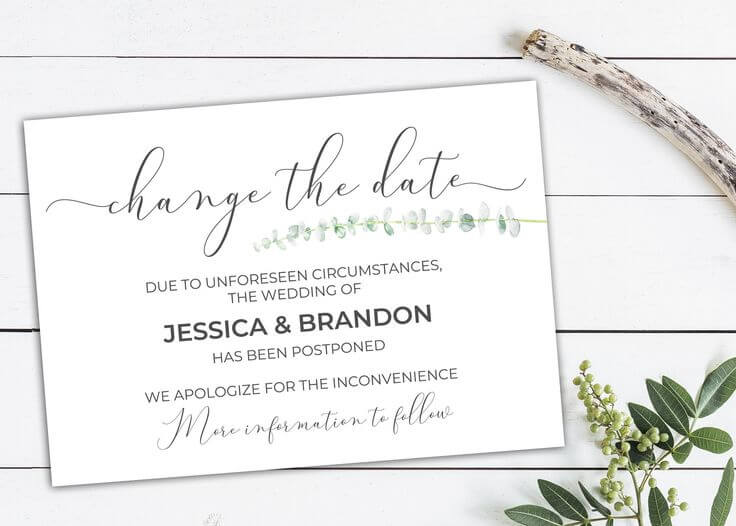
Wedding Postponement
If you need to postpone your wedding:
Send a “Change the Date” notice as soon as possible
Include the new date if known, or indicate that details will follow
A digital announcement is acceptable for time-sensitive changes
Adults-Only Reception
If children aren’t invited:
Address invitations specifically to invited guests only
Consider including a note on your wedding website explaining the adults-only nature
Be prepared to politely address questions from guests
B-List Invitations
If working with a tiered guest list:
Create two batches of invitations with different RSVP deadlines
Send the first batch 10-12 weeks before
Be prepared to send B-list invitations 6-8 weeks before the wedding as declines come in
Final Tips for Wedding Invitation Success
Order extra invitations: Add 15-20% to your count for last-minute additions and keepsakes
Double-check all details: Have several people proofread before printing
Consider seasonal mail delays: Allow extra time around holidays
Keep one complete invitation suite: Save one as a memento or for your photographer to capture on the wedding day
Track your RSVPs digitally: Use a spreadsheet or wedding planning app to stay organized
By following this comprehensive timeline, you’ll ensure that your wedding stationery process runs smoothly from save-the-dates to thank you cards. Remember that these guidelines can be adjusted based on your specific wedding circumstances, but they provide a solid framework for keeping your invitation process on track.
Happy planning!